
Production layers / Practical reference
White, varnish, cut and print: read what the PDF actually contains.
Find the white, varnish, cut, print and note content you need for the next production step. Use the SILT example to read the groups, inspect their artwork and connect each part with its purpose.
Start with the production part you need.
You receive a label PDF and need its cut contour, white underprint or varnish area. Before using a layer with a plausible name, check which objects it contains, which ink those objects use and what the production provider expects them to do.
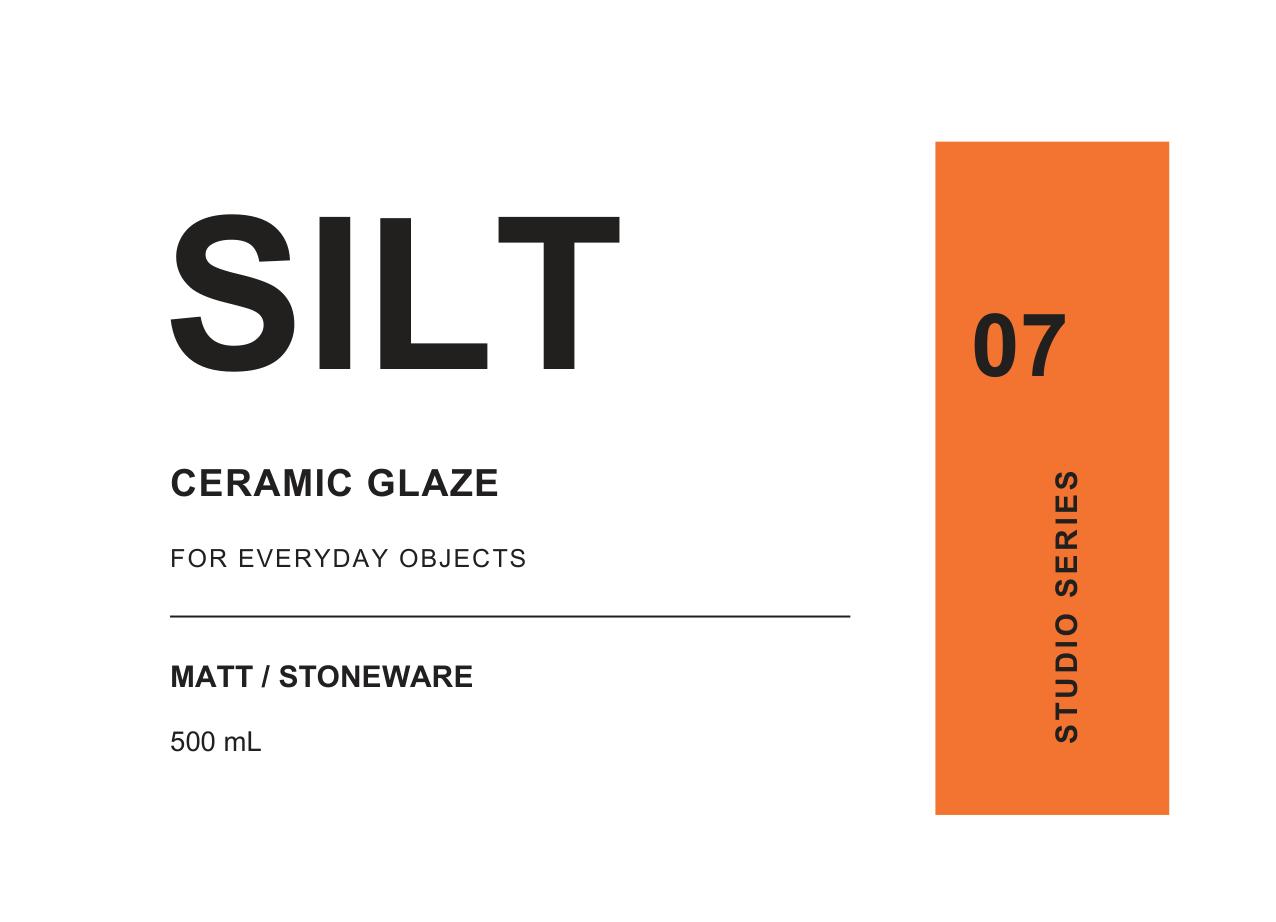
In the SILT example below, the PDF group Coat 01 contains lettering painted with the spot ink Varnish. Its intended production role is a selective finish over the SILT wordmark. Those are three descriptions of the same content.
The content you can switch on or off.
The named ink assigned to its objects.
What that content is intended to control.
See the white, finish, cut and notes separately.
SILT is an original clear-label demonstration with five PDF groups. Choose a production part. Use View PDF group to inspect its actual separated content, or Highlight on artwork to see where it belongs.
Inspect the production part.

The highlight uses the exact extracted mask. Its screen color explains the area only.
Varnish
The finish follows the SILT lettering. It covers that lettering, not the entire label.
- PDF group
- Coat 01
- Ink used here
- Varnish
Blue makes the actual finish mask easy to see. Switch the overlay off to compare its coverage with the printed artwork.
Open this group's PDFThe Print view contains black artwork and a spot orange band within one PDF group. Extracting that group gives its artwork together. To inspect the printing inks or plates, use a separation tool such as Acrobat Pro Output Preview.
“Spot” and “Clear” are clues. Inspect the content.
Spot may refer to a named printing ink, including an ordinary brand color. It does not automatically mean white ink or varnish. SILT_Orange is a spot ink used in this example's visible design.
Clear may be a supplier's name for a coating or another production element. Confirm its actual contents and intended use. You cannot safely choose a production operation from that word alone.
The same applies to Cut, Die cut and CutContour. A human-readable group name and an object's ink assignment can be different. In this file, the group is named Knife and the ink is CutContour.
A group that seems invisible may still contain useful white or finish artwork, or be hidden beneath another group. Inspect it alone before deciding that it is empty. Some production workflows also use PDF processing-step metadata; a familiar name alone does not prove that a file meets those workflow requirements.
Take the production part you found into the next step. The packaging guide shows how to inspect and recover cut, white and varnish groups.
Inspect the packaging recovery workflowPreview free. Buy the files when you are ready.Recover the content, then verify its production use.
Separate the White, Varnish, Cut and Print groups into PDFs you can use for the next production step. Review each part against the printer's or cutter's requirements. Create any additional mask or contour in your design application, then approve the complete production file with the supplier.
- Check the required group on the required page, including hidden content.
- Inspect the isolated artwork and confirm its page size and position.
- Check actual ink assignments, stacking, overprint and the provider's production requirements in the receiving workflow.
- Keep job notes and other review information out of the finished product as that workflow requires.
For the recovery procedure, use the cut, white and varnish guide. For the distinction between artwork groups and actual ink plates, use the measured separation comparison.
How this example was checked
The self-owned SILT vector/text PDF was created on 21 October 2026. Its five groups were processed with the retained PDFLayerExtract engine. Each output keeps the original page size. Rendering the four initially visible outputs together reproduces the default source page without changed pixels above the verification tolerance.
Painted content was checked separately from unused color resources: Brand artwork uses black and SILT_Orange; Opaque base uses White_Ink; Coat 01 uses Varnish; Knife uses CutContour. Varnish starts hidden in the source PDF.